How to Install Jenkins on a Local Machine (Mac – Homebrew)

Jenkins is a free open-source tool that helps automate software tasks like building,testing and deploying applications. It is commonly used in CI/CD processes.
If you are using macOS and want to run Jenkins locally for learning, automation testing, or personal projects, the easiest and cleanest way to install it is using Homebrew.
In this blog, we will see step by step how to install Jenkins on a local Mac system using Homebrew with screenshots to make the process easy to follow. Why Install Jenkins Locally?
Before jumping into the installation, let’s understand why running Jenkins on a local machine is useful:
Practice Jenkins pipelines and jobs
Run Selenium automation tests locally
Learn CI/CD concepts without cloud cost
Experiment with plugins and configurations
Ideal for beginners and learners
Prerequisites:
Before we begin, make sure you have the following:
A Mac computer(mocOS)
Homebrew already installed on your computer
A working internet connection
Terminal access
Admin permissions
Java (JDK 11 or 17 recommended)
Tip: To check whether Homebrew is installed open the terminal and type the command below then press Enter:
brew --versionIf Homebrew is installed, you will see its version number on the screen
Step 1: Install Jenkins (LTS Version)
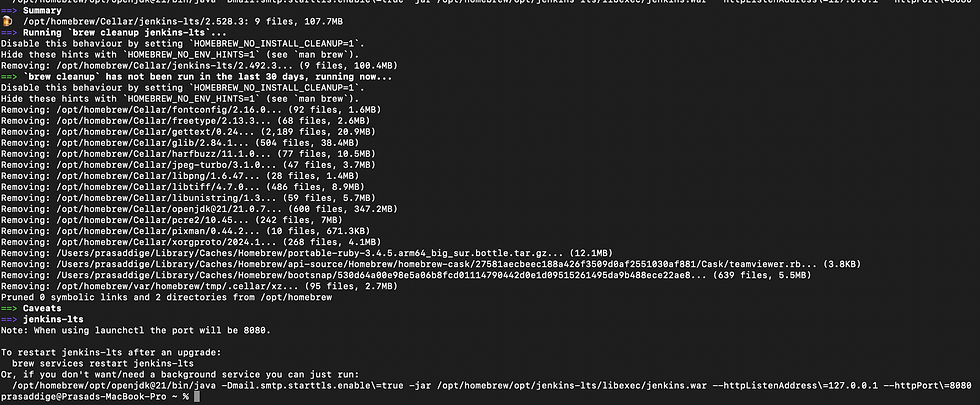
It is best to installed the Long Term Support (LTS) version of Jekin because it is more stable and reliable.
Open the terminal on your mac and type the below command and then press Enter:
brew install jenkins-lts
Step 2: Start Jenkins Service
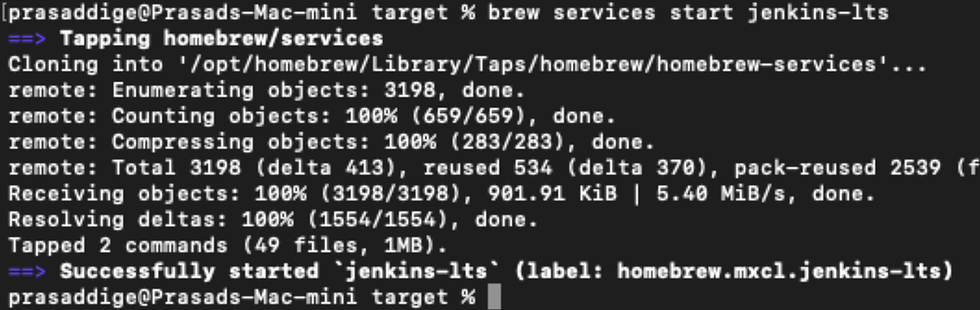
After the Jenkins is installed you need to start it so it can run on your system. Open the Ternimal and run the below command:
brew services start jenkins-ltsThis will start the Jenkins in the background.
Here are some additional useful commands which help you manage Jenkins easily from the terminal:
"To restart Jenkins if needed:
brew services restart jenkins-lts"To update Jenkins to the latest version:
brew upgrade jenkins-ltsStep 3: Open Jenkins in Browser
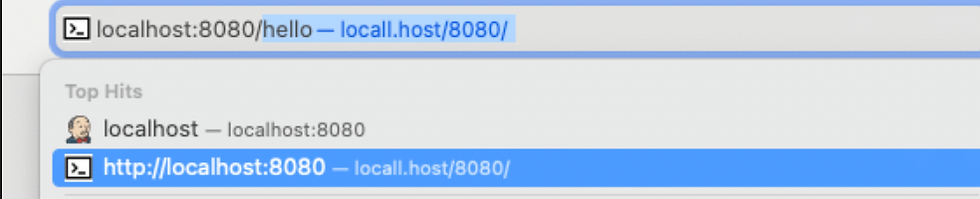
Open any browser (like Chrome or Safari) and type the following address in the address bar:
This will open the Jenkins main page is called Admin Console on your computer
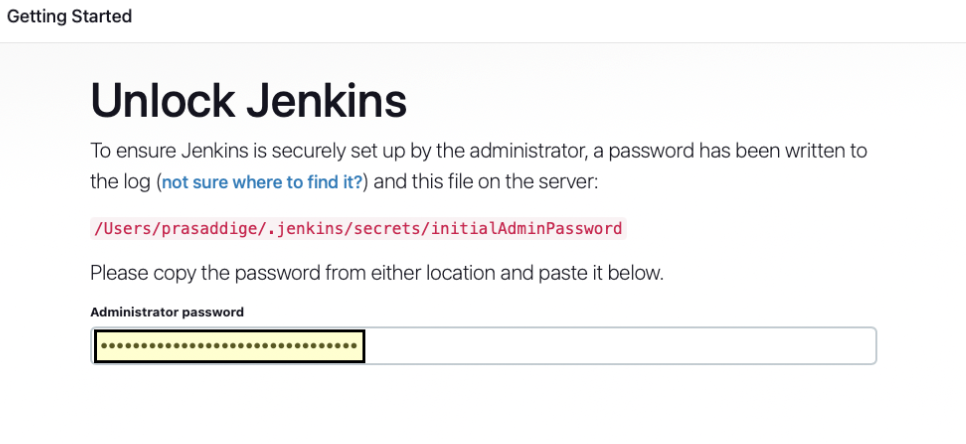
Step 4: Unlock Jenkins (First-Time Setup)
When you open the Jenkins for the first time, it will ask for auto-generated password. This password is automatically created by Jenkins during installation.
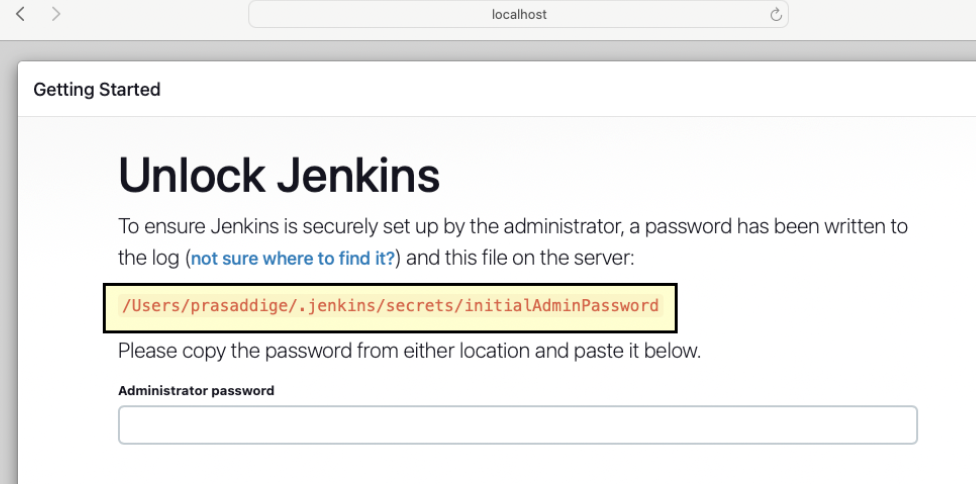
The password is stored in a file on your computer at this location:
/Users/<your-username>/.jenkins/secrets/initialAdminPasswordto see the password open the Terminal and run this below command:
vi /Users/<your-username>/.jenkins/secrets/initialAdminPasswordCopy the password shown on the first line, paste it into the password box on the Jenkins screen and the click Continue.
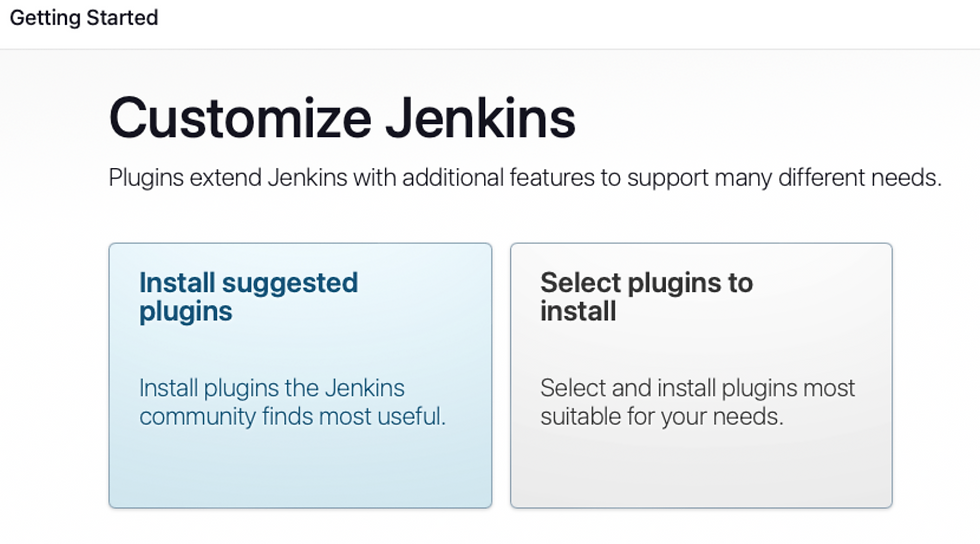
Step 5: Install Suggested Plugins
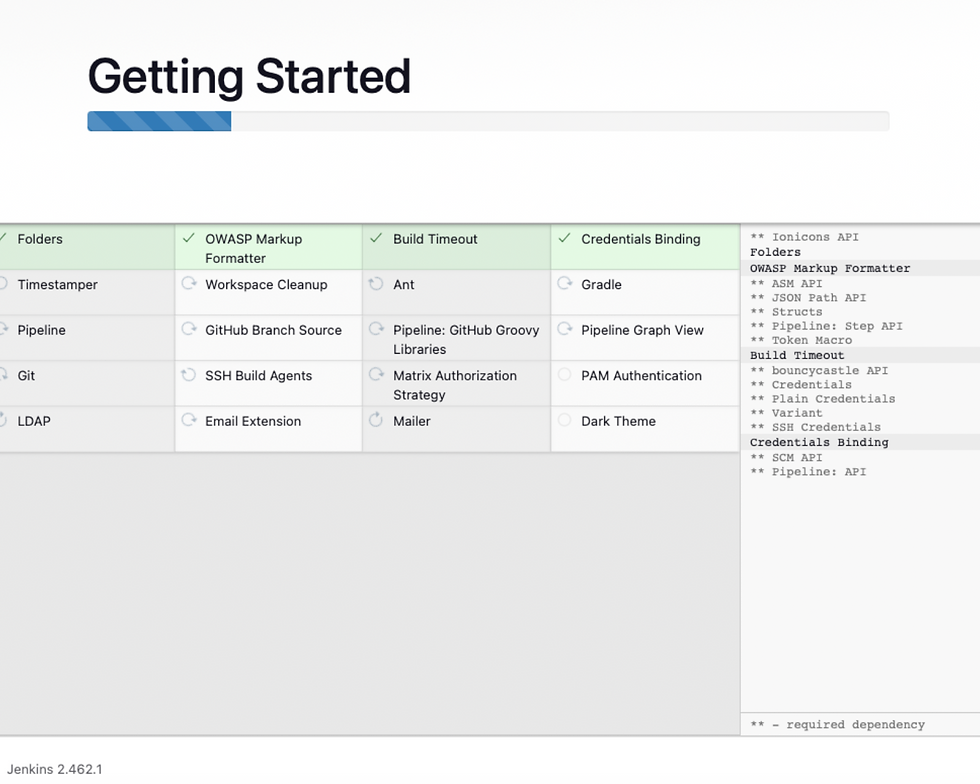
On the next screen choose "Install suggested plugins".
Jenkins will automatically download and install all the basic plugins needed to get started.
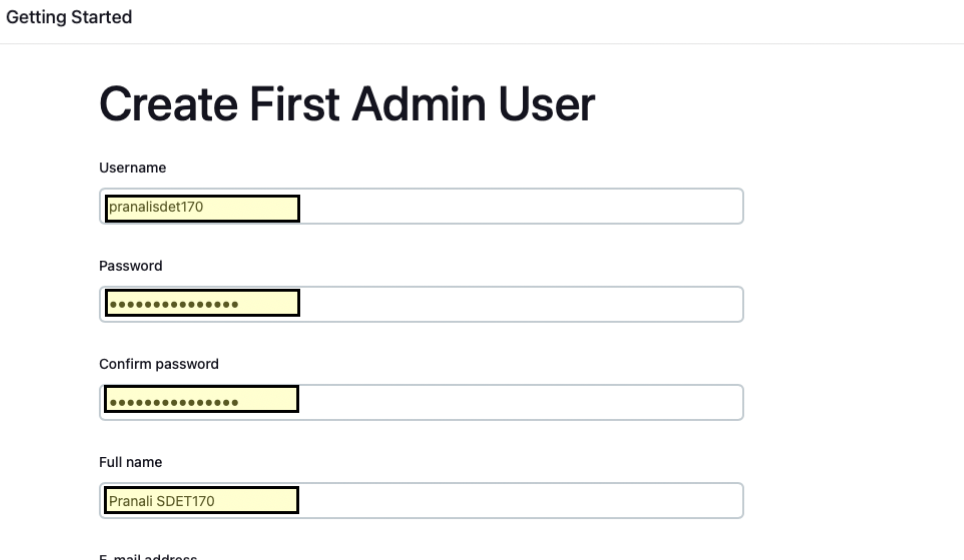
Step 6: Create Admin User
After the plugin installed, Jenkins will ask you to create an admin user.Enter the required details such as:
"Username"
"Password"
"Email address"
This account will be used to log in and manage Jenkins.
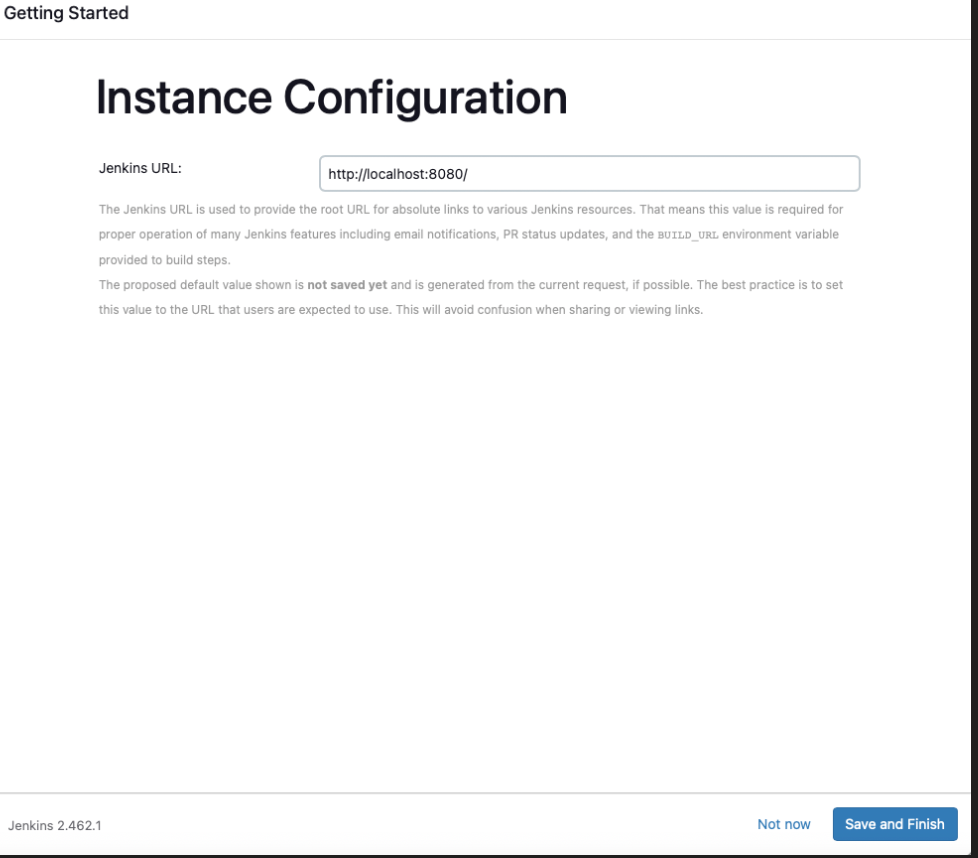
Step 7: Finish Setup
After creating the admin user:
"Check and confirm the Jenkins web address"
"Click save and finish"
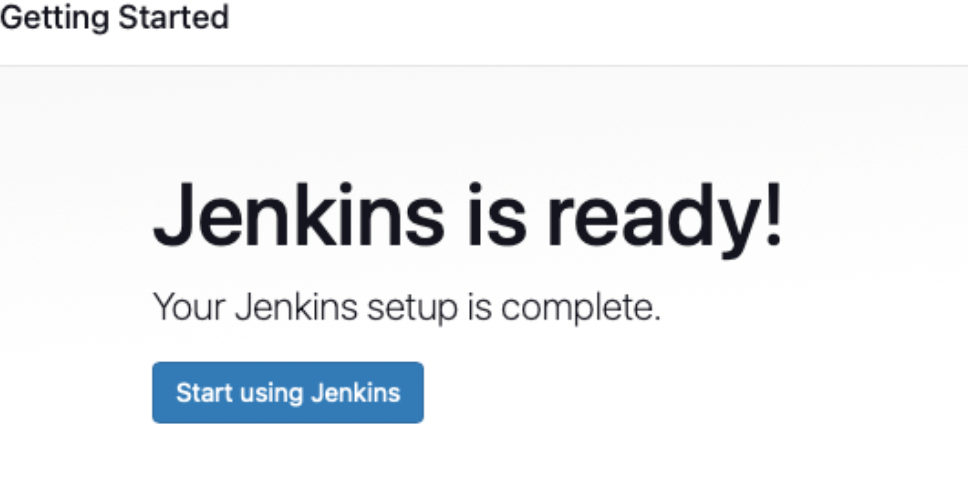
"Click start using Jenkins"
Here! Jenkins has been successfully installed and is now ready to use.
Common Troubleshooting Issues
Port 8080 Already in Use
If Jenkins fails to start because port 8080 is already occupied:
Edit the Jenkins plist file:
Change the port from 8080 to another port (e.g., 9090), then restart Jenkins.
vi /opt/homebrew/opt/jenkins-lts/homebrew.mxcl.jenkins-lts.plist
Jenkins Not Starting
Check Jenkins logs:
tail -f ~/.jenkins/logs/jenkins.log
Also verify service status:
brew services listConclusion
Installing Jenkins on macOS using Homebrew is a quick, reliable, and beginner-friendly approach. With Jenkins running locally, we can easily explore CI/CD pipelines, automate builds, integrate Selenium tests, and prepare for real-world QA automation scenarios.
This setup is especially useful for:
QA Engineers
Automation Testers
Java Developers
CI/CD learners
You have now successfully installed and set up Jenkins on your Mac computer. You can start using Jenkins to create jobs, build pipelines and automate you work.
Happy Learning....Happy Testing!!


